Add MCP Server to Visual Studio
Visual Studio integrates MCP through GitHub Copilot Agent Mode.
- Open the GitHub Copilot Chat window.
- Select Agent instead of Ask in the dropdown in the lower left corner.
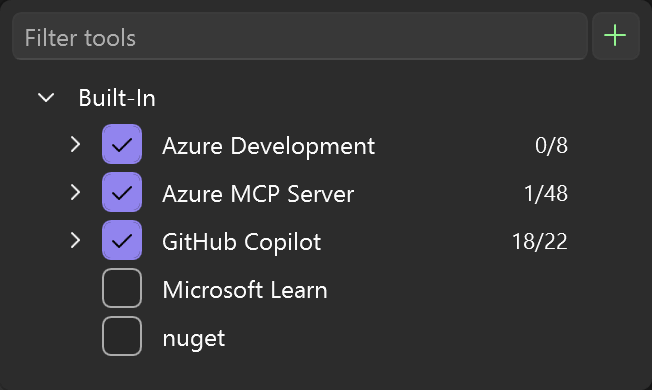
- Click the Select tools button (wrenches in the lower right corner):
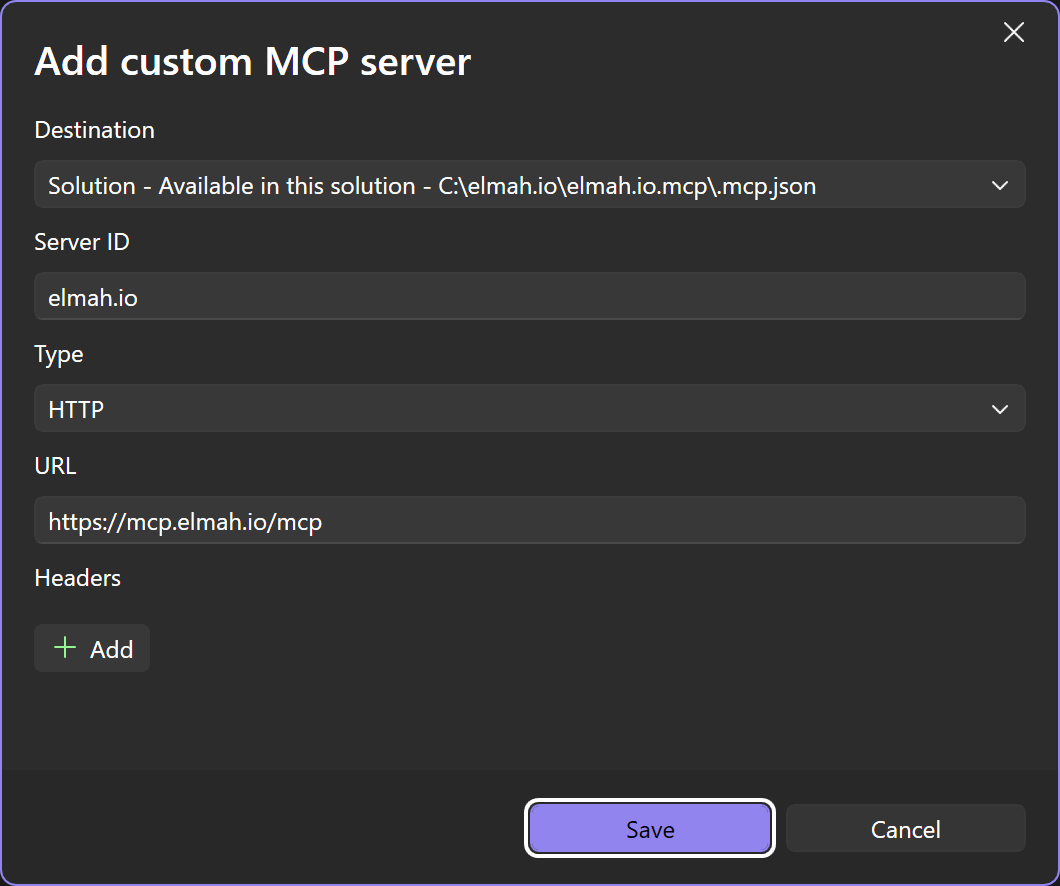
- Click the green Plus button in the top right corner and input the values shown here:
- Once added, click the Select tools button again. The elmah.io MCP server will be disabled as a default. Enable the checkbox left of the name.
- Click the three dots button next to the MCP server and select Configure.
- In the configuration dialog, select the Authentication tab. Disable the check in Enable Dynamic Client Registration and give your client a name:
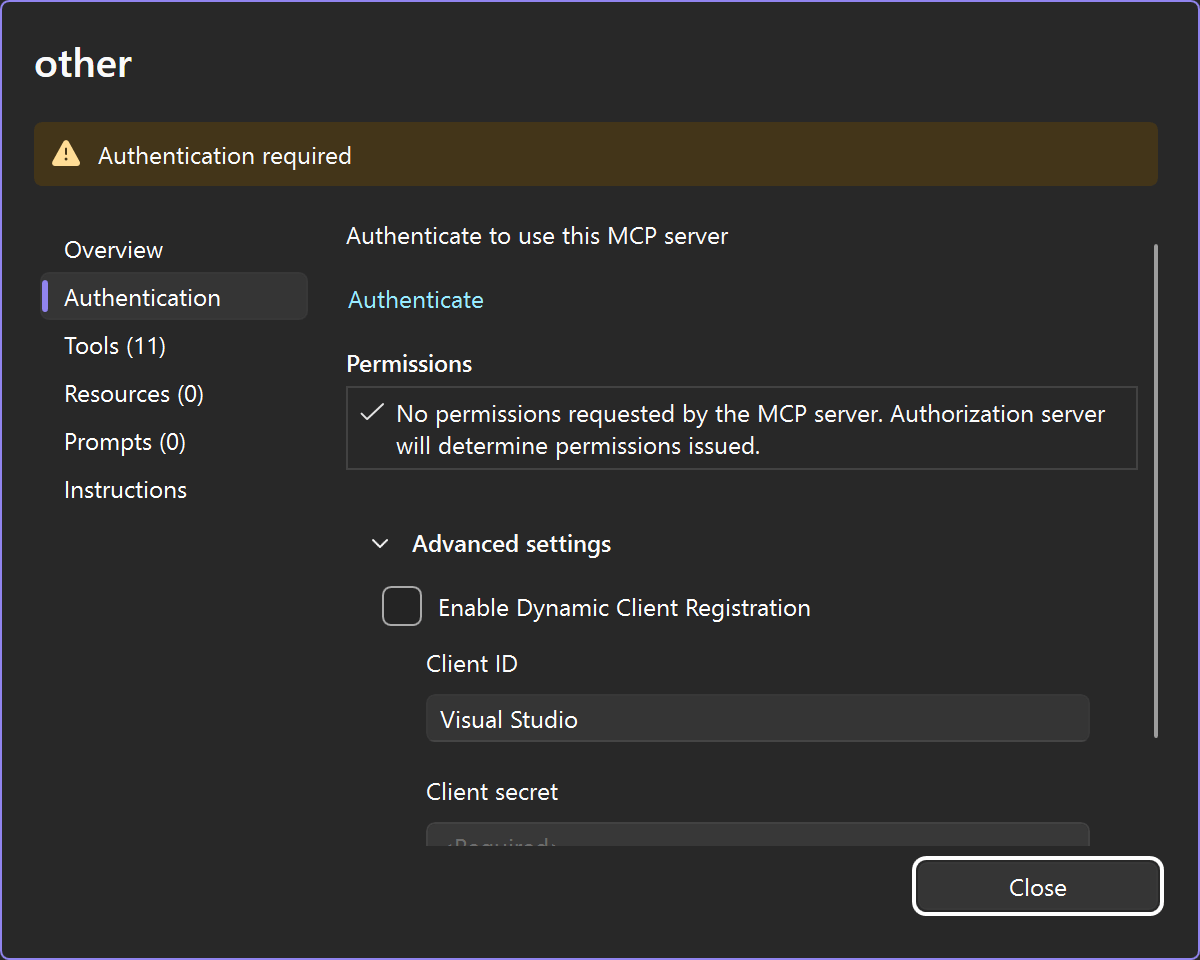
- Click the Authenticate link and a browser window will open, asking you to sign into elmah.io.
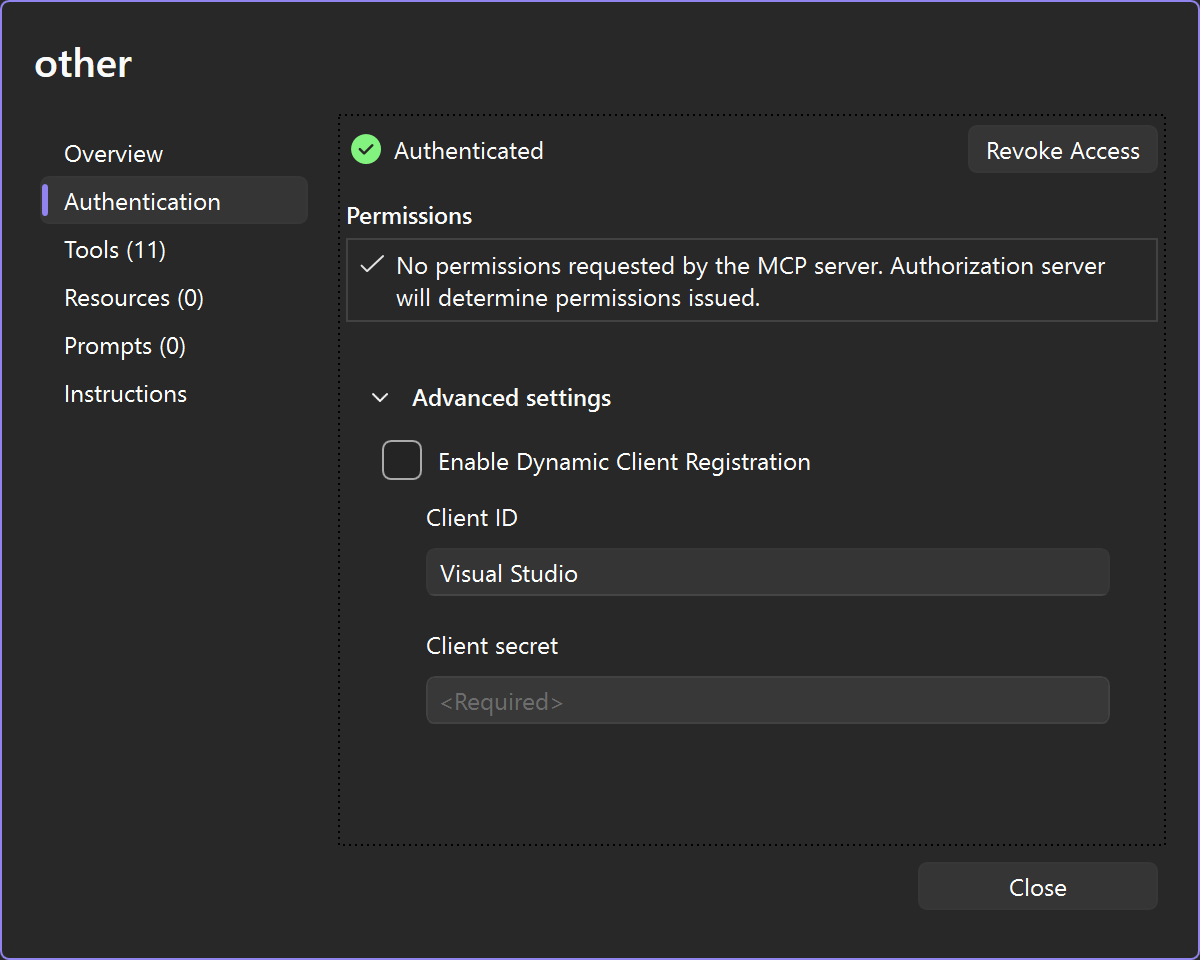
- When signed in, the authenticate dialog will show a green checkmark next to the Authenticated link and the number of discovered MCP tools will be shown on the left:
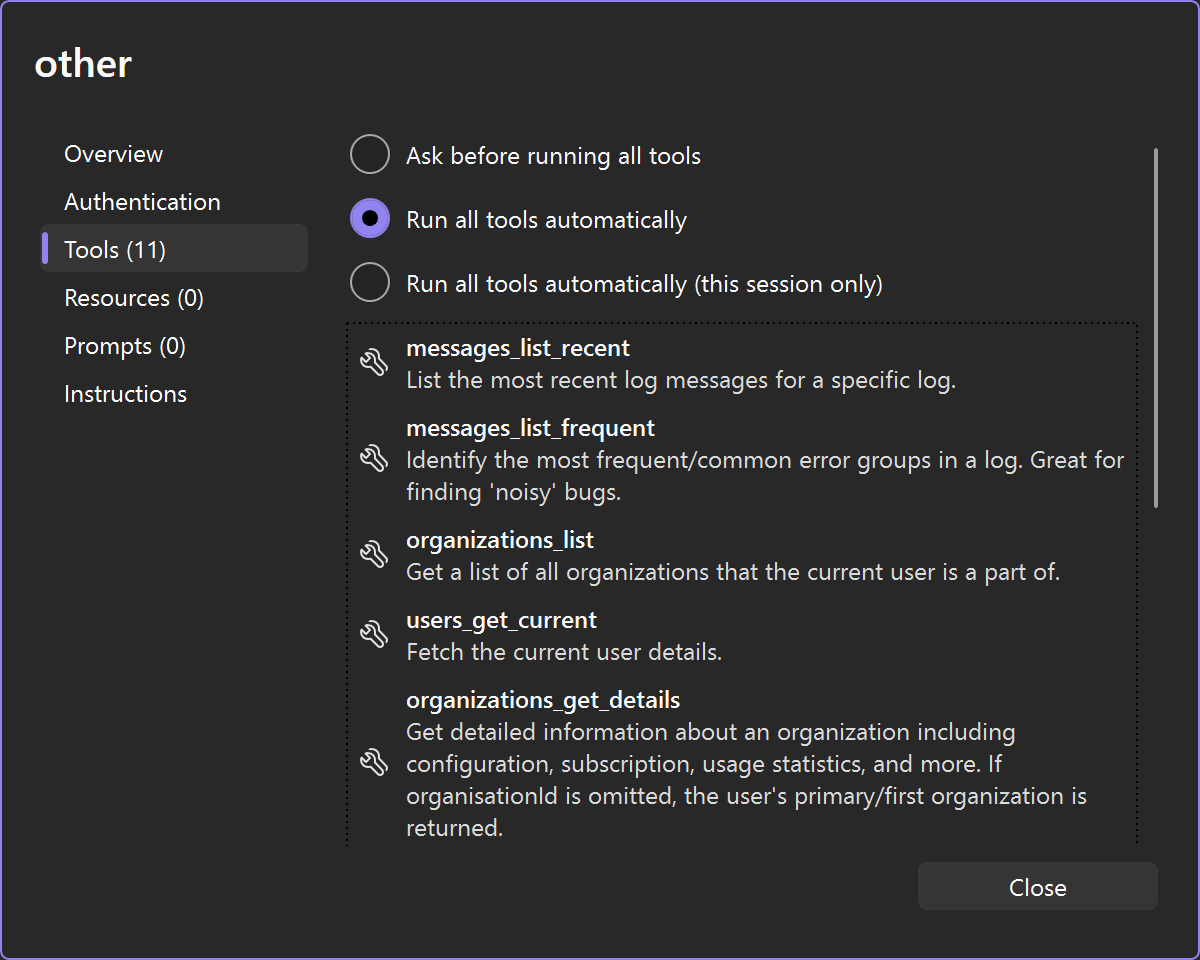
- The elmah.io MCP server is now ready for use. You will be asked permission every time Copilot wants to call a tool. You can allow all tools by selecting Run all tools automatically in the Tools tab:
This article was brought to you by the elmah.io team. elmah.io is the best error management system for .NET web applications. We monitor your website, alert you when errors start happening, and help you fix errors fast.
See how we can help you monitor your website for crashes Monitor your website